LaTeX: page layout and fonts
LaTeX's defaults look good, but almost every real document changes the margins, the font or the spacing. This guide shows the packages and commands that do it.
Class options
The first place to change the look is the document class.
| Option | What it does |
|---|---|
10pt, 11pt, 12pt |
Base font size. |
a4paper, letterpaper, a5paper |
Paper size. |
twocolumn |
Two columns for the whole document. |
twoside |
Different left and right pages, for printing. |
landscape |
Landscape pages (works best together with geometry). |
titlepage |
Put the title on its own page. |
Margins with geometry
The geometry package sets paper size and margins in one place.
\documentclass{article}
\usepackage[a4paper, margin=2.5cm]{geometry}

\begin{document}
Text with 2.5 cm margins on all sides.
\end{document}

More options: top=3cm, bottom=2cm, left=2.5cm, right=2.5cm, inner and outer for two-sided documents, landscape, and paperwidth=12cm, paperheight=18cm for a custom size.
Fonts with fontspec
Because TypstDrive compiles LaTeX with XeTeX, you can use any OpenType or TrueType font with fontspec. Upload the font files to the document or project, then name the files.
\documentclass{article}
\usepackage{fontspec}
\setmainfont{MyFont-Regular.otf}[
  BoldFont = MyFont-Bold.otf,
  ItalicFont = MyFont-Italic.otf,
]

\begin{document}
Body text in my own font, with \textbf{bold} and \textit{italic}.
\end{document}

\setmainfontsets the normal text font,\setsansfontthe sans-serif font used by\textsf, and\setmonofontthe font used by\texttt.\newfontfamily\headingfont{MyHeading.otf}defines a font you can switch to with{\headingfont ...}.-
Fonts that come with TeX Live can be used by their file name, without uploading anything. Tectonic cannot look fonts up by their display name, so
\setmainfont{TeX Gyre Pagella}does not work, but this does:\usepackage{fontspec} \setmainfont{texgyrepagella}[ Extension = .otf, UprightFont = *-regular, BoldFont = *-bold, ItalicFont = *-italic, BoldItalicFont = *-bolditalic, ]Other good choices are
texgyretermes(like Times),texgyreheros(like Helvetica) andlmroman10(Latin Modern, the default look). Fonts installed on the server itself cannot be used.
In TypstDrive, picking a font file from Document files inserts \setmainfont{...} and adds fontspec to the preamble for you.
Without fontspec, a font package changes everything at once: \usepackage{libertinus}, \usepackage{tgpagella} or \usepackage{lmodern}.
Line and paragraph spacing
\documentclass{article}
\usepackage{setspace}
\usepackage{parskip}

\begin{document}
\onehalfspacing
This paragraph has one-and-a-half line spacing.

With parskip, paragraphs are separated by space instead of an indent.
\end{document}

setspacegives\singlespacing,\onehalfspacingand\doublespacing.parskipreplaces the first-line indent with a gap between paragraphs.- To change the indent yourself, use
\setlength{\parindent}{1.5em}and\setlength{\parskip}{0.5em}. \noindentskips the indent for one paragraph.
Space and alignment
First line.

\vspace{1cm}
One centimetre further down.

Left \hfill Right

\begin{flushright}
Right-aligned text.
\end{flushright}

{\centering Centred paragraph.\par}
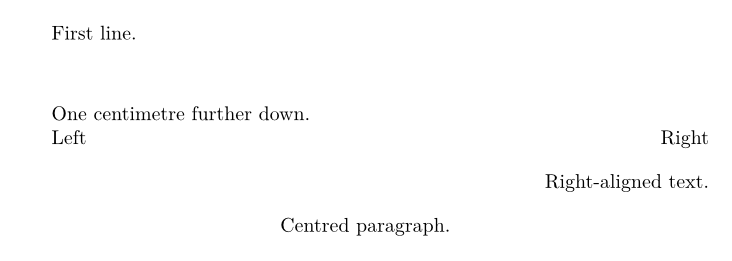
\vspaceand\hspaceadd space;\vfilland\hfillpush things apart.- Units:
pt,mm,cm,in,em,ex. center,flushleftandflushrightenvironments align text;\centeringdoes the same inside a group or float.
Columns
twocolumn in the class switches the whole document. For a part of it, use multicol:
\documentclass{article}
\usepackage{multicol}
\usepackage{lipsum}

\begin{document}
\begin{multicols}{2}
\lipsum[1-3]
\end{multicols}
\end{document}
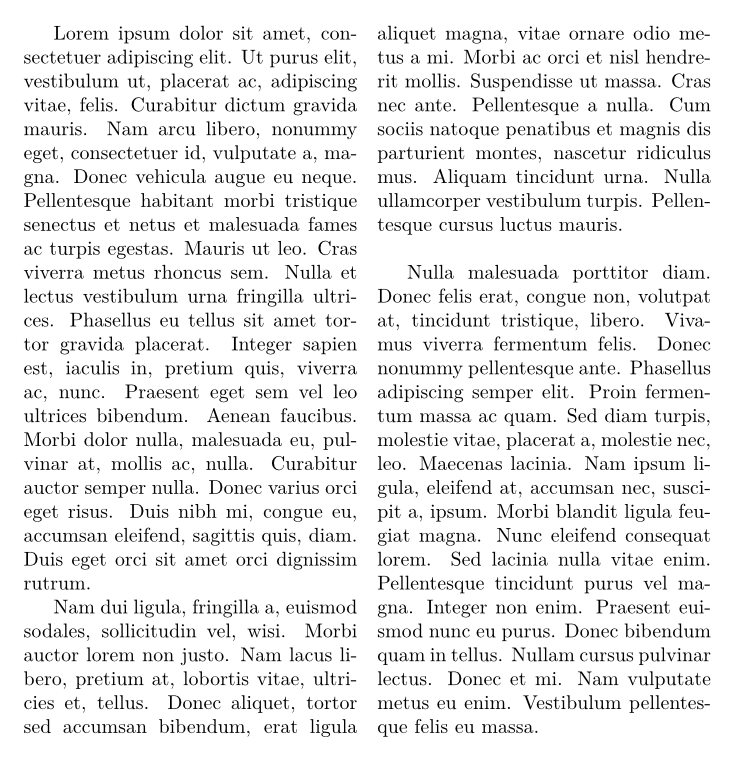
\lipsum from the lipsum package writes placeholder paragraphs, handy for trying layouts.
Headers, footers and page numbers
\pagestyle{plain} shows only the page number, and \pagestyle{empty} shows nothing. For your own headers and footers, use fancyhdr:
\documentclass{article}
\usepackage{fancyhdr}
\usepackage{lastpage}
\usepackage{lipsum}

\pagestyle{fancy}
\fancyhf{}
\fancyhead[L]{My Report}
\fancyhead[R]{\leftmark}
\fancyfoot[C]{Page \thepage\ of \pageref{LastPage}}
\renewcommand{\headrulewidth}{0.4pt}

\begin{document}
\section{Introduction}
\lipsum[1-8]
\end{document}
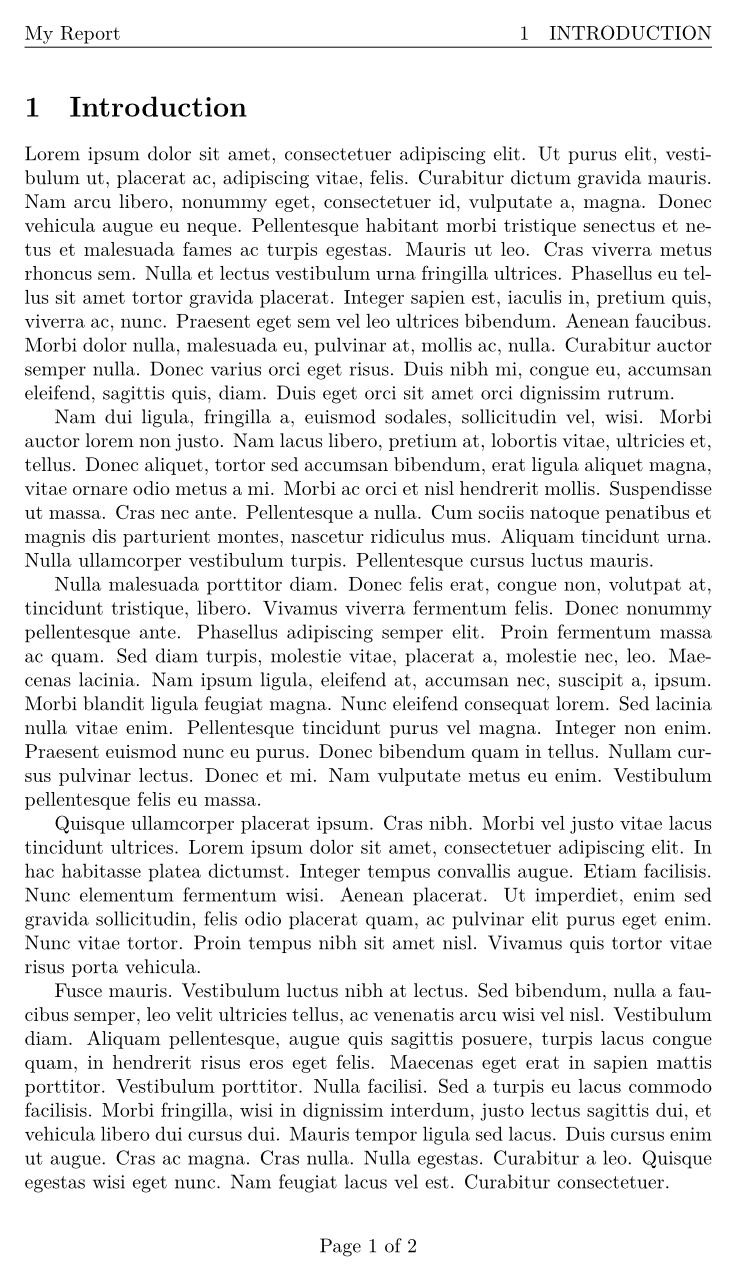
L,CandRplace text on the left, centre and right. Withtwoside, useLE,ROand so on for even and odd pages.\leftmarkis the current section or chapter title.\thispagestyle{empty}hides the header and footer on one page, for example the title page.
Page numbers can be Roman for front matter: \pagenumbering{roman}, then \pagenumbering{arabic} where the main text starts.
Section headings
The titlesec package changes how headings look.
\documentclass{article}
\usepackage{titlesec}
\usepackage{xcolor}

\titleformat{\section}{\Large\bfseries\color{blue}}{\thesection.}{0.6em}{}
\titlespacing*{\section}{0pt}{2ex}{1ex}

\begin{document}
\section{A blue heading}
Text.
\end{document}

Title pages
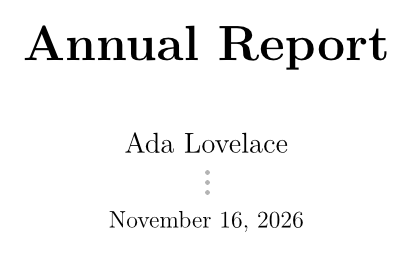
For a fully custom title page, use the titlepage environment:
\documentclass{report}

\begin{document}
\begin{titlepage}
  \centering
  \vspace*{4cm}
  {\Huge\bfseries Annual Report\par}
  \vspace{1cm}
  {\Large Ada Lovelace\par}
  \vfill
  {\large \today\par}
\end{titlepage}

\chapter{Introduction}
Text.
\end{document}
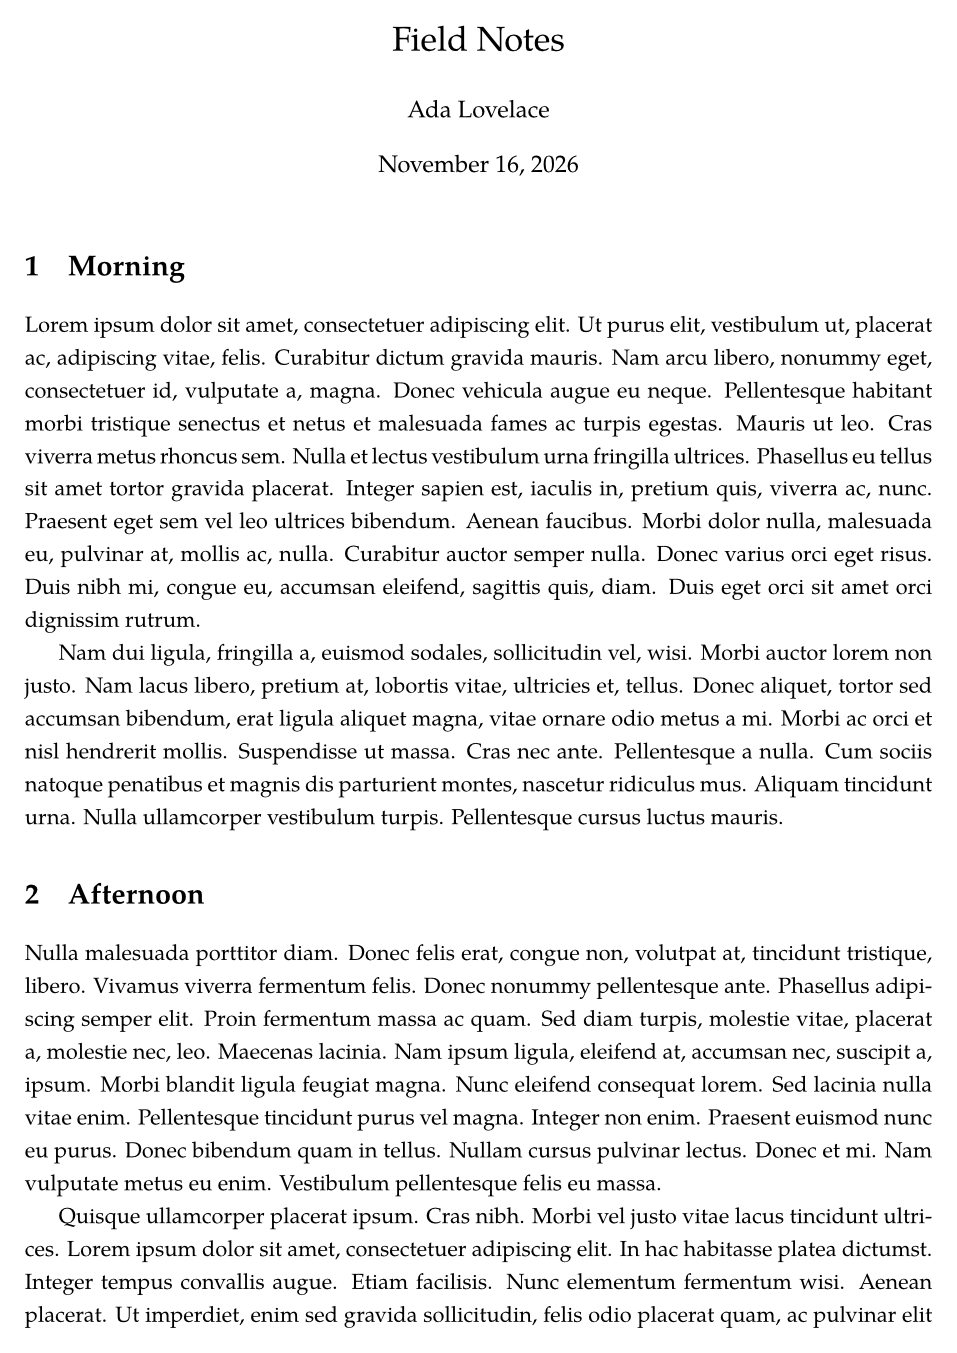
Putting it together
\documentclass[11pt,a4paper]{article}
\usepackage[margin=2.5cm]{geometry}
\usepackage{fontspec}
\setmainfont{texgyrepagella}[
  Extension = .otf,
  UprightFont = *-regular,
  BoldFont = *-bold,
  ItalicFont = *-italic,
]
\usepackage{setspace}
\usepackage{fancyhdr}
\usepackage{lipsum}

\onehalfspacing
\pagestyle{fancy}
\fancyhf{}
\fancyhead[R]{Field Notes}
\fancyfoot[C]{\thepage}

\title{Field Notes}
\author{Ada Lovelace}

\begin{document}
\maketitle
\thispagestyle{empty}

\section{Morning}
\lipsum[1-2]

\section{Afternoon}
\lipsum[3-4]
\end{document}
Next steps
Add pictures and tables in Images, tables and references.